
Start with the type of training you do at home
Before you buy anything, match the flooring to your workouts. A light cardio corner, a dumbbell area, and a heavy lifting zone all need different support. If you only use a yoga mat and a pair of hand weights, you do not need the same thickness as someone deadlifting or doing kettlebell work in a garage.
For general home use, think in terms of impact, movement, and sweat. Cardio and bodyweight sessions need grip and comfort. Strength training needs shock absorption and floor protection. If you do a mix of everything, choose one base layer that handles daily use and add extra mats where weights land. In many Gauteng homes the floor is tiled or sealed concrete, so a little planning saves a lot of noise and cracked grout later.
- Light training: yoga, stretching, mobility, walking pads
- Mixed training: cardio, core work, small dumbbells
- Strength training: free weights, benches, kettlebells, bars
- Heavy use: repeated drops, sled work, high traffic family areas
Choose thickness based on noise and impact
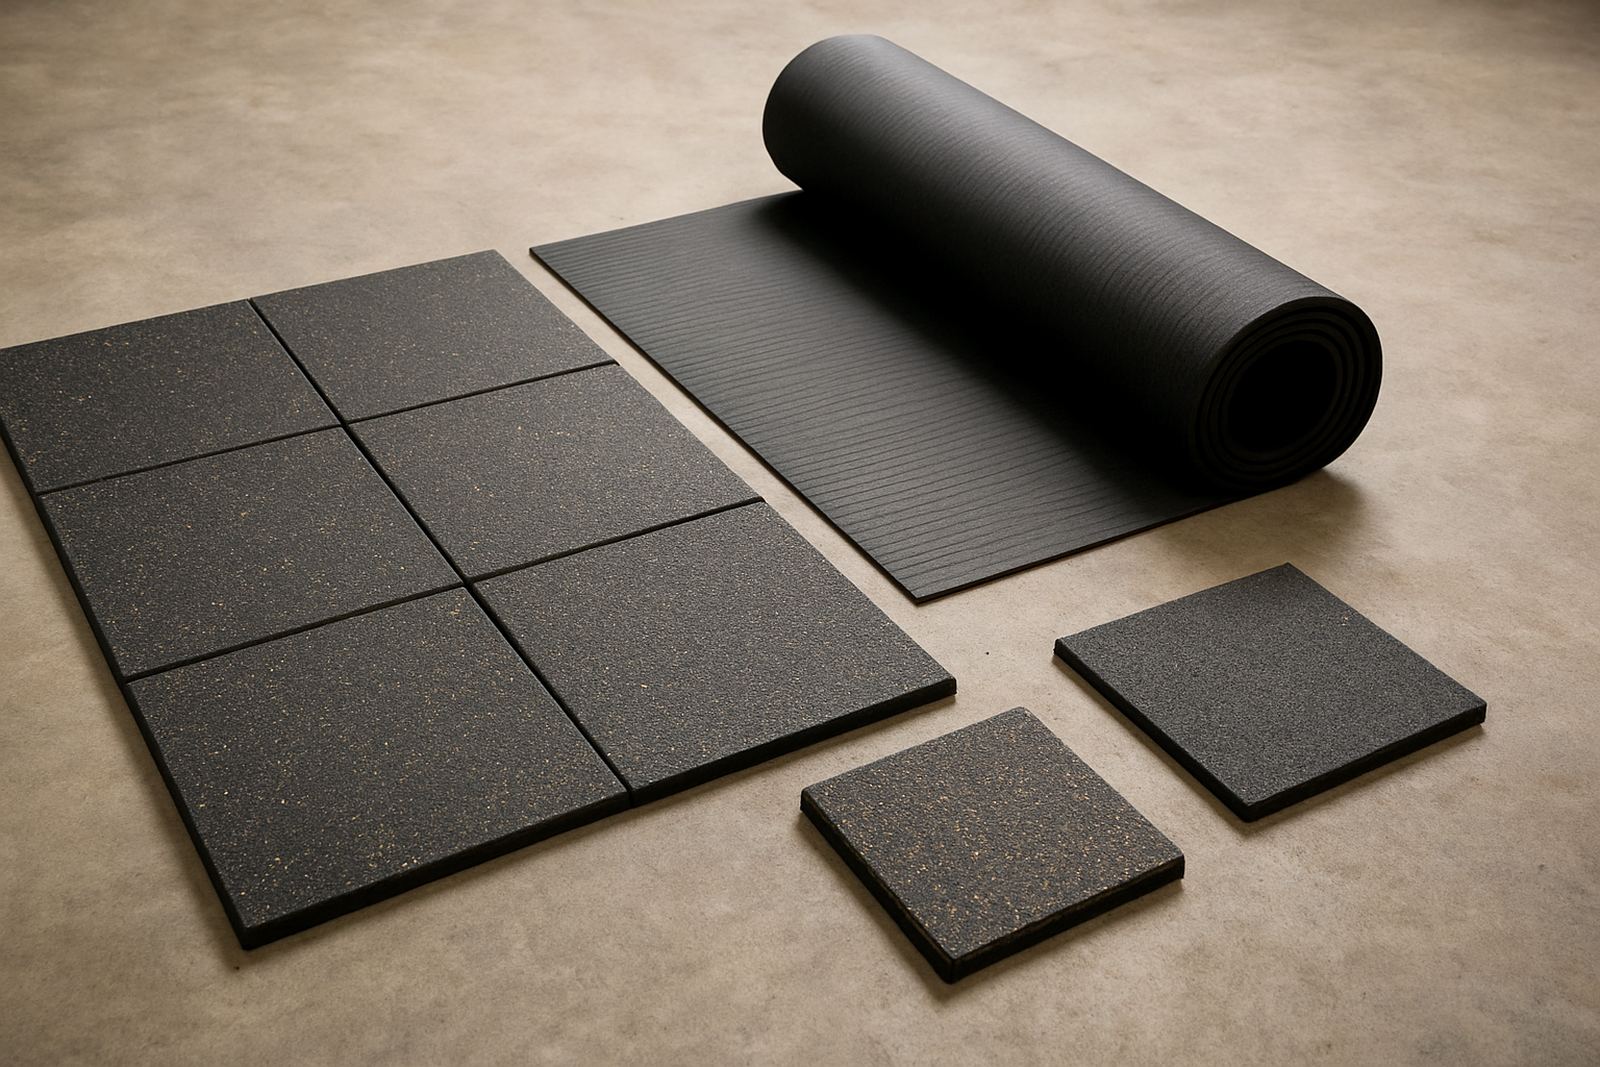
Thickness matters because it affects both sound and protection. Thin foam tiles feel comfortable, but they do very little under dropped weights. Thicker rubber or high density mats absorb more impact and help stop vibration moving through the floor and into the rest of the house. That is especially useful in a townhouse, upstairs room, or a place where neighbours are close by.
A useful rule is this: the heavier the training, the denser the flooring should be. For bodyweight work, 6 mm to 10 mm can work well. For free weights and machines, look closer to 10 mm to 20 mm depending on the load. If you are building a proper home gym in Fourways or Sandton, ask what sits under the floor too. Concrete handles weight better than timber joists, which is important for long term safety and less creaking.
- 6 mm to 10 mm: general exercise and mobility
- 10 mm to 15 mm: cardio, dumbbells, compact home gyms
- 15 mm to 20 mm: heavier lifting and more noise control
- Extra pads or platforms: for deadlifts, racks, and dropped weights
Make grip a priority, especially in warm or humid rooms
Good grip helps prevent slips when you are sweaty, moving quickly, or training barefoot. In coastal humidity or during hot summers in Johannesburg, some surfaces get slick very quickly. Smooth vinyl can look neat, but it is not always ideal under fast footwork or floor work. A textured finish gives better traction without being harsh on the skin.
If the floor is in a garage, spare room, or patio enclosure, test how it behaves when damp. If your sessions happen before load-shedding ends and you train by window light, you want flooring that still feels steady underfoot and does not shift around. Interlocking tiles can move if the base is not level, so check edges and joins. A small wobble now becomes annoying later.
- Look for a surface with light texture, not a polished finish
- Check that mats stay flat and do not curl at the corners
- Use anti-slip backing where the floor is smooth or dusty
- Keep a towel nearby for sweat, water spills, and shoe dust
Protect the floor underneath before damage starts
Floor protection is about more than stopping scratches. It helps spread the load from machines, stops rubber feet from marking tiles, and reduces the risk of dents on softer surfaces. If you rent, this matters even more because you may need to hand the place back in good condition. If you own the home, you still want to avoid repair costs from chipped pavers, cracked tiles, or stained concrete.
Use a protective layer under the heaviest items first, then extend the flooring around the workout zone. Under benches, racks, and bikes, a denser base gives better support. For family homes, it also helps if children walk across the area. A cheap foam tile may be fine for play, but not under a machine that stays in one spot for months. Choose once and use it properly, rather than patching up damage later.
- Put protective mats under racks, bikes, and benches
- Use wide coverage for deadlift areas and landing zones
- Check the floor for grit before placing mats
- Re-check after a few weeks to see if the mats have shifted
Plan the layout so cleaning stays simple
A home gym works better when the flooring is easy to live with. You need enough coverage for movement, but not so much that cleaning becomes a mission. Dust, chalk, hair, and outdoor dirt collect fast, especially in homes where the gym sits near a garage door or open window. Pick flooring that can be swept, vacuumed, or wiped without lifting the whole setup every time.
In Johannesburg, many homes have a mix of tile, laminate, and concrete. Measure the room and map the training zones before you buy. Leave enough space for stretching and movement around the edges, and make sure doors still open properly. If you are planning a family fitness area, keep the floor consistent from one zone to the next so trips and uneven joins are less likely.
- Measure length, width, and doorway clearance
- Mark the heavy equipment spots first
- Leave a clear walking path for safety
- Choose flooring you can clean in minutes, not hours
Use this final checklist before you place your order
Once you have measured and matched the flooring to your training, run through a quick checklist. This helps you avoid buying something that looks fine online but feels wrong once it arrives. If you are building a starter space in Midrand or Roodepoort, keep it practical. You do not need the thickest option everywhere, only where it counts.
Ask yourself what you are protecting, who is using the space, and how often the room must be cleaned. If you are unsure, start with a modular solution that can grow later. That is often the smartest choice for a home gym that may add equipment over time. Fit the floor to the workout, not the other way round. Small detail, big difference.
- Is the main goal noise reduction, grip, or floor protection?
- Will the space hold weights, machines, or family activity?
- Is the surface stable on your existing floor?
- Can you lift, clean, and replace the sections if needed?