
Start with saddle height before you touch anything else
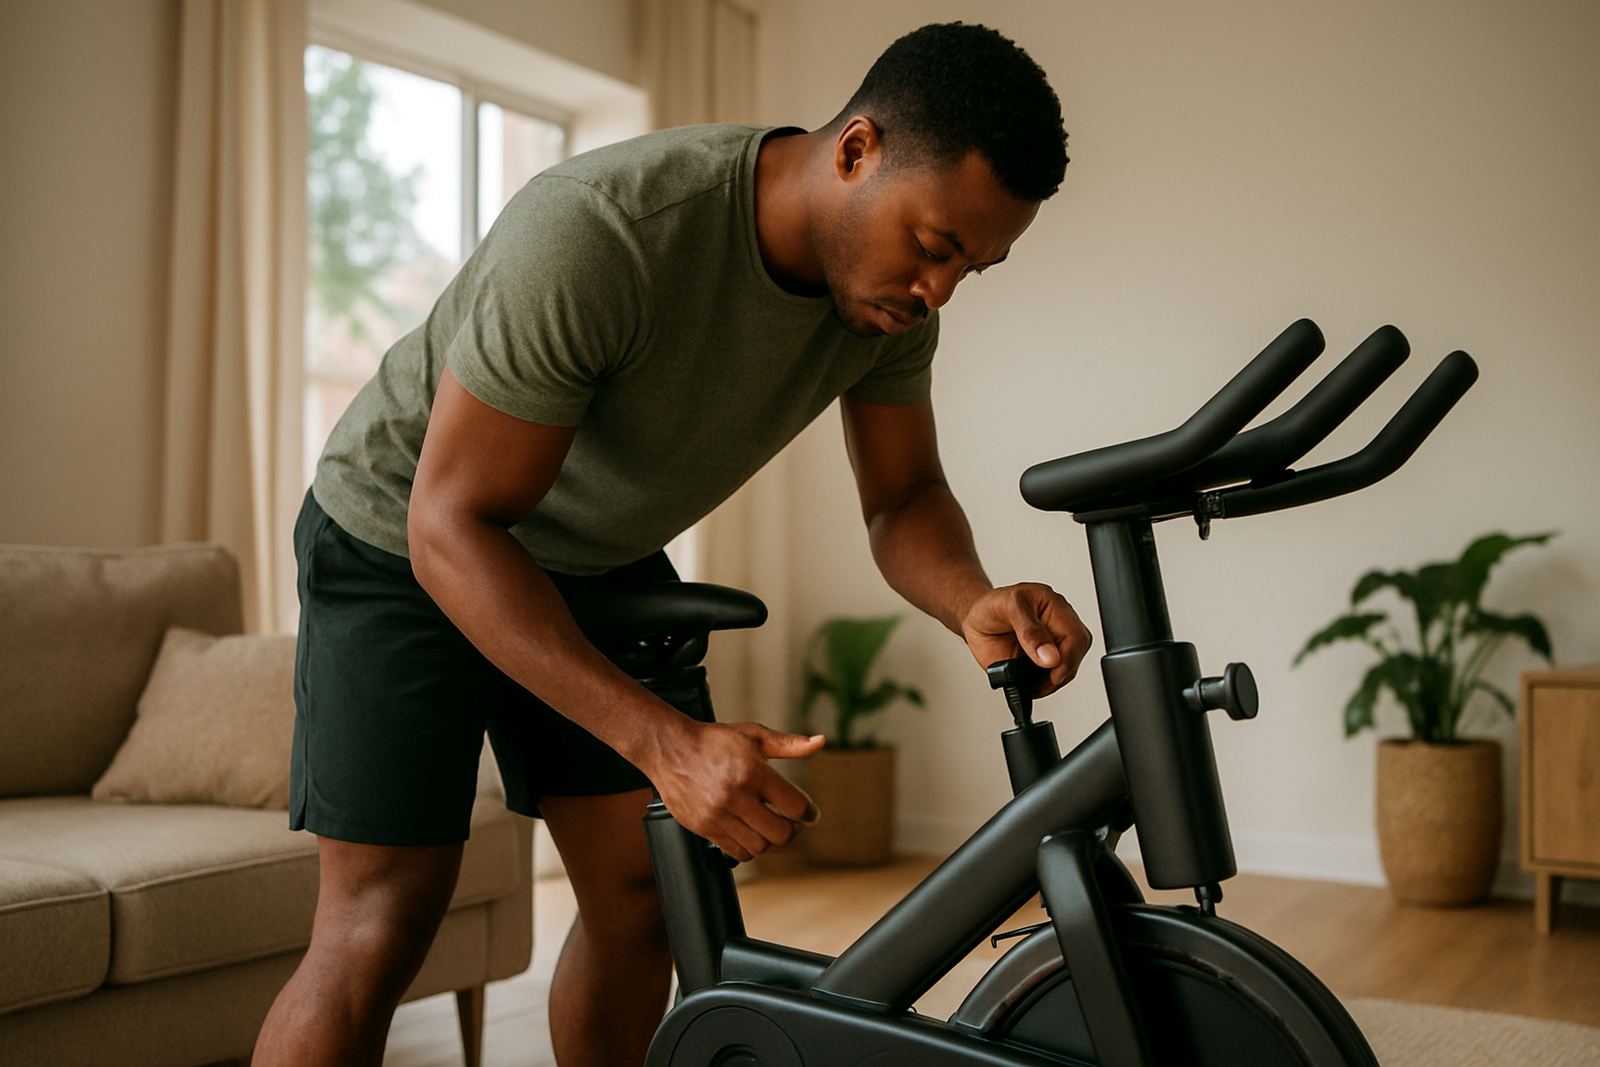
Saddle height is the first setting to get right because it affects your knees, hips and lower back all at once. If the seat is too low, your knees bend too much and the pedals feel heavy. If it is too high, your hips rock side to side and you start reaching for the pedals, which can irritate the knees and make the ride less efficient.
A practical starting point is to sit on the bike with one heel on the pedal at the lowest point. Your leg should be almost straight, with just a slight bend. When you clip in or place the ball of your foot on the pedal, that same leg will then have the right amount of bend during the stroke. In a home setup in Fourways or Midrand, this simple check usually saves a lot of trial and error.
- Too low: sore knees, cramped hips and a heavy feeling at the front of the thighs.
- Too high: hips sway, hamstrings overreach and your lower back works harder.
- Just right: smooth circles, quiet hips and better control through the pedals.
Set the saddle fore and aft so your knees stay happy
Once height is sorted, look at how far forward or back the saddle sits. This affects where your knees track over the pedals and how much load sits on your quads versus your glutes. If the saddle is too far forward, you may feel pressure at the front of the knees. Too far back and you can feel stretched, especially through the hamstrings and lower back.
A common check is to sit with the pedals level and your front knee roughly above the middle of the front foot. That is not a hard rule for every rider, but it is a useful starting place. If you are taller, have longer thighs, or are recovering from a past knee issue, small changes matter more than you may think. It helps to move the saddle in small steps and test each ride for 10 to 15 minutes before deciding.
- Move the saddle forward if you feel over-stretched or struggle to keep contact with the pedals.
- Move it back if your knees feel pushed too far ahead of the toes and your quads burn too quickly.
- Make one change at a time so you can feel the difference properly.
Keep your torso steady and your shoulders relaxed
Good posture on a bike does not mean sitting stiff. Your core should support you so your upper body stays calm while your legs do the work. A common mistake is hunching the shoulders up toward the ears or locking the elbows straight. That creates tension in the neck, upper back and hands, especially on longer sessions.
Think about lengthening your spine, softening your shoulders and keeping a light bend in the elbows. Your hands should guide the handlebar, not hang on for dear life. If your hands go numb or your neck tightens after a few minutes, the handlebar may be too low, too far away, or you may be leaning too hard on the front end. On humid days in places like Sandton or Pretoria East, riders often tense up without noticing, so a quick posture check every few minutes helps.
- Chest open, not puffed out.
- Shoulders down and away from the ears.
- Elbows soft, not locked.
- Weight shared between saddle, pedals and handlebar.
Choose foot placement that gives you a smoother pedal stroke
Your feet are the link between your legs and the machine, so where they sit on the pedal matters. The ball of the foot should usually sit over the pedal axle for the most balanced drive. If your foot sits too far forward, the calf can cramp and the ankle works overtime. If it sits too far back, you may lose some power and feel unstable.
Keep an eye on ankle movement too. A little natural flex is normal, but excessive toe-pointing or heel-dropping can point to poor setup. If you use toe cages or straps, they should hold the foot snugly without cutting circulation. With indoor training in a flat or carpeted home gym, it is easy to ignore foot position until something starts aching, so check it early. Small adjustments can make a big difference over a 45 minute session.
- Place the ball of the foot over the pedal axle.
- Keep pressure even through the whole foot, not just the toes.
- Straps should feel secure, but never tight enough to go numb.
Match resistance and cadence to your posture, not the other way round
Posture gets messy when the resistance is too heavy or the cadence is too fast for your current fitness. If you are grinding a big resistance with poor form, your hips will rock and your lower back will complain. If you spin too quickly without control, your shoulders tense and your knees start to wander. The right load should let you breathe hard without losing shape.
A useful target for many home riders is a cadence that feels controlled, with enough resistance to avoid bouncing on the saddle. If you are doing a beginner fat-loss ride or a steady cardio session, start lighter than you think and build gradually. For strength-focused work, increase resistance in small steps and keep the torso steady. This matters even more during load-shedding sessions when people rush through shorter rides at home and skip the warm-up. A rushed ride often means poor form and tired knees by day two.
- Warm up for 5 to 10 minutes before adding heavier resistance.
- Use a load that lets you keep the knees tracking forward.
- Reduce resistance if the upper body starts bouncing or twisting.
Simple checks for older riders, beginners and family use
Not everyone using the bike will have the same height, flexibility or training history. In many Johannesburg homes, one bike gets shared by two or three people, so the setup needs to be easy to change and easy to remember. Beginners often sit too low because it feels safer. Older riders may hunch forward out of habit. Teenagers may push the seat up too high and pedal with a wobble. The fix is usually simple: mark the seat post height, note the handlebar position and keep a record of what works for each rider.
If you are coming back after time off, start with shorter sessions and a more upright position. If your knees, hips or back have a history of trouble, it helps to plan rides around comfort first, then intensity. At FitSmart, we often see better results when a bike is set up for the person, not for a generic image of how cycling should look. That usually means better consistency, fewer niggles and a rider who actually wants to come back tomorrow.
- Write down each rider’s seat height and handlebar setting.
- Check posture again after a week, because small habits creep in.
- If pain sticks around, stop and reassess instead of pushing through.
A local example from a compact home gym in Fourways
A family in Fourways recently set up a small bike in a spare room with a mat, fan and a few weights nearby. The first problem was not fitness, it was posture. One rider had the saddle too low, another leaned on the handlebar and a third kept sliding forward on the seat. After adjusting the height, moving the saddle back a touch and marking each rider’s setting with tape, the whole setup became far more usable.
That is the point of good exercise bike posture. It does not need complicated kit or a coach in the room. It needs a few sensible measurements, a bit of patience and the willingness to fine tune. Once the fit is right, indoor cycling becomes easier to repeat, whether you are riding before work in Sandton, after school runs in Randburg, or between meetings in Midrand. And when the setup works, the ride usually does too.