
Start with the space you actually have
Before you buy or set up a squat rack, measure the room properly. A basic rack can fit in a garage or spare room, but you still need enough space to walk around it, load plates and step back with control. In many Fourways homes, the issue is not the rack itself, it is the low ceiling, tight side clearance or a floor that vibrates when weights are dropped.
Allow extra room at the front for walking in and out of the rack, and at least a little space behind you for a safe bail out if a lift goes wrong. If you are training in a complex or townhouse, think about neighbours too, especially for early morning sessions and evening work after load-shedding. Rubber flooring helps to reduce noise and protect tiles or concrete from repeated impact.
- Measure ceiling height before you order a rack with pull-up bars or upper attachments.
- Leave space for plates, a bench and a small warm-up area.
- Use a non-slip surface so your feet do not shift during setup.
Get the height settings right from day one
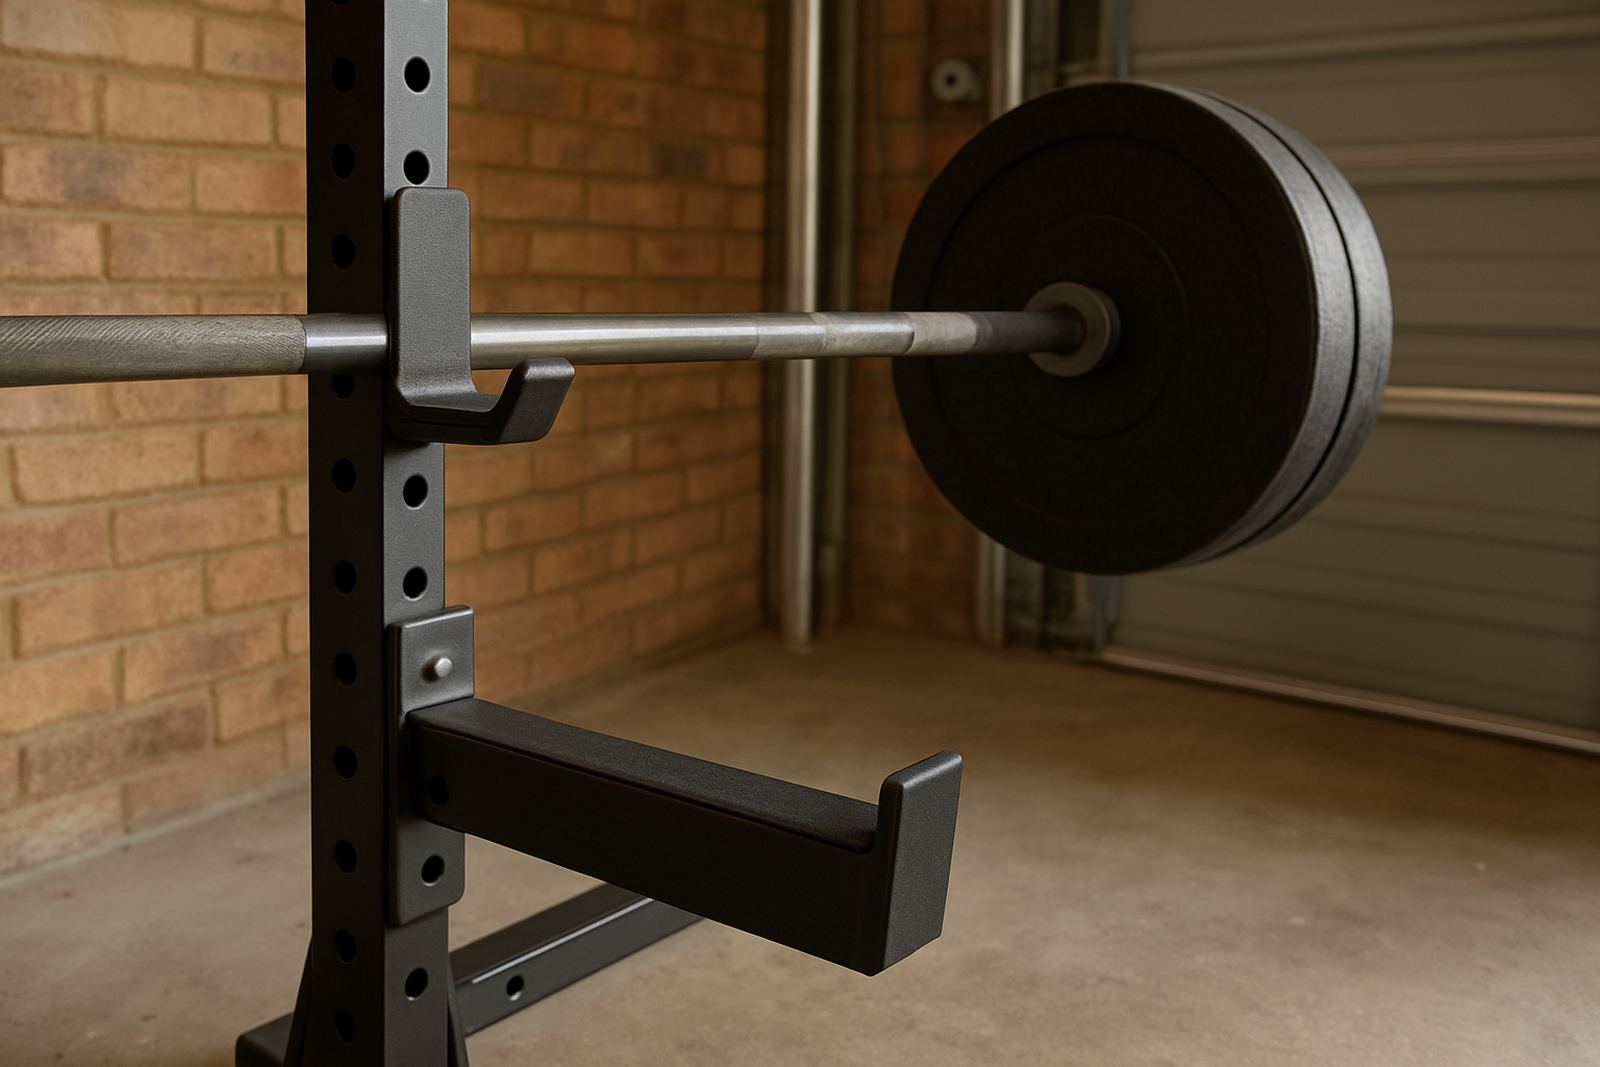
The main purpose of a rack is to let you lift from a stable, repeatable start point. If the J-hooks are too high, you end up tip-toeing the bar out. If they are too low, you waste energy lifting the bar before the squat even starts. Set the hooks so the bar rests just below shoulder height for most back squat setups, and slightly lower for front squat or press work.
Safety arms or spotter arms are worth using even if you train alone. They give you a fail-safe point when a rep stalls, which matters when you are lifting at home without a training partner. For beginners, this is one of the most important habits to build because confidence improves faster when you know there is a proper backup in place.
Take a few minutes to test the empty bar, then add small increments. Do not rush the setup because a rushed session often leads to poor bracing and a crooked bar path, and that is where niggles start.
Check the weight capacity and the floor under it
Not all racks are built for the same workload. A home user who trains with moderate loads may not need the same specification as a lifter pushing heavy barbell work every week. Check the frame rating, the thickness of the steel uprights and the quality of the locking pins or bolts. If you are buying for long-term use, it is better to choose a rack with more capacity than you think you need.
The floor matters just as much. On a slab in a Johannesburg home, the rack may sit fine, but on older wooden floors or a raised patio, movement can become a problem. If your area is damp in summer or exposed to coastal humidity during trips to Durban or Ballito, wipe down the frame regularly so surface corrosion does not build up on joints and hardware. A dry cloth after training is a small habit that pays off.
- Place the rack on level ground to avoid wobble.
- Check bolts after the first few sessions and again every few weeks.
- Use mats under the rack if the floor is smooth or prone to marking.
Learn the safety habits before the hard sets
New users often focus on the weight and forget the system around the lift. Good rack work is not only about strong legs, it is about repeatable habits. Set your feet the same way each time, breathe before the unrack, and make sure the bar is centred before you step back. Those small checks make a big difference when training alone at home.
If you use the rack for squats, bench presses or overhead work, always know where the bar will go if the rep fails. Practice the movement with an empty bar first. If you are using safety pins, set them just below your lowest safe range so they catch the bar without trapping you too high. A common mistake is setting them too low, which leaves no real protection.
For younger users or family sessions, explain the rules clearly. No one should walk under a loaded bar, and plates should be put away as soon as the set is finished. It sounds simple but it keeps the space orderly and cuts the chance of accidents.
Match the rack to your training goals
A rack can support more than squats. Many home users build full programmes around it, using it for deadlift starts, bench press work, split squats, lunges and overhead pressing. If your goal is weight loss, the rack can still play a useful part by helping you move through structured strength sessions that build muscle and keep your training focused. If your goal is performance, you may want a wider setup with plate storage and pull-up options.
For families in Pretoria East or Randburg, a rack often becomes shared equipment. In that case, choose adjustment points that are quick to change and easy to read. If two adults and a teenager are using the same system, simple height markings save time and reduce mistakes. You do not want to spend half the session changing settings instead of training.
- Beginners: focus on squat pattern, bracing and controlled depth.
- Intermediate lifters: add bench, overhead press and split squat work.
- Busy households: pick a rack that changes settings quickly and stores plates neatly.
A Fourways home setup example
Take a typical Fourways double garage setup. One side is for the car, the other side is for training. The rack sits on rubber mats with a barbell, a pair of adjustable benches and a few plate sizes close by. Because the garage door is open in the early morning, the user trains before traffic starts and avoids the midday heat. During load-shedding, a battery light and a charged phone torch make it easier to check collar placement and pin positions.
This kind of setup works because it is practical. Nothing is overcomplicated and every item has a place. The user can train before work, finish in 40 minutes, and still leave the garage ready for the rest of the day. That matters for South African homes where space is limited and schedules are tight. A rack should support your routine, not fight it.
How to keep the rack in good condition
Basic care goes a long way. Wipe sweat off the frame, check the bolts, and inspect any moving parts for wear. If the rack is near an open door or outside area, moisture and dust will collect faster. In rainy months, even a few drops can sit in bolt heads and start surface rust if you ignore them. Keep a small cloth and a simple maintenance routine nearby so the system stays ready.
It also helps to keep a short log of your training numbers. Write down the bar weight, reps, and any setup changes. This makes it easier to spot progress and to notice if your stance or rack height needs adjusting. Small records are useful when training at home because there is no coach watching every session. One extra note can save a lot of guessing later.
A squat rack is one of the most useful home training tools if you treat it properly. Measure first, set it up carefully, and learn the safety habits before the load gets heavy. That way your home sessions stay steady, practical and worth the space.